Authentic Biltong Recipe Done Properly
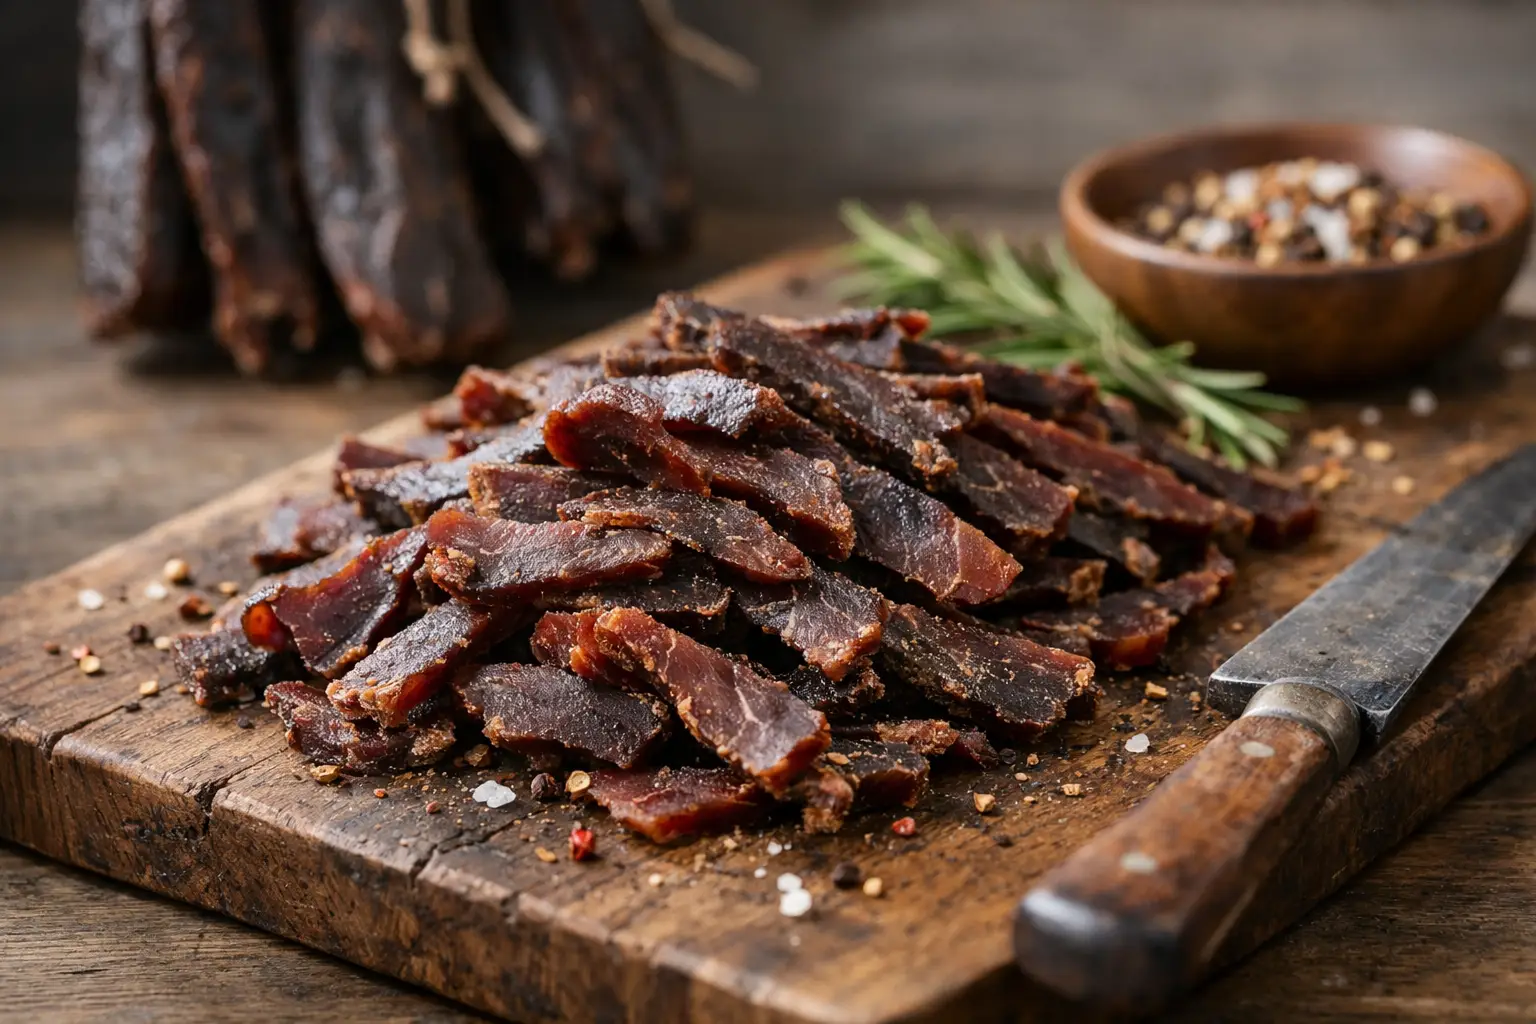
If you want an authentic biltong recipe, start by forgetting jerky. Good biltong is not sugary, sticky or smoked within an inch of its life. It is beef cured simply, spiced properly and dried with patience until the outside is firm, the centre still has character, and every slice tastes like proper South African lekkerness.
For plenty of South Africans in Australia, biltong is more than a snack. It is familiarity. For everyone else, it is often a revelation - richer than jerky, cleaner in flavour, and far more satisfying when made the traditional way. The trick is that authentic does not mean complicated. It means choosing the right meat, respecting the spice balance and not rushing the drying.
What makes an authentic biltong recipe authentic?
The heart of an authentic biltong recipe is simple - quality beef, vinegar, salt, coriander, pepper, and time. That is the backbone. Some families add a touch of brown sugar. Some include bicarbonate of soda to soften the meat. Some prefer more pepper, others a stronger coriander note. Those small shifts are normal. Biltong has always had a homemade character.
What usually takes it off track is over-seasoning. Too much chilli, garlic powder, liquid smoke or soy sauce and you are moving into jerky territory. Tasty, maybe, but no longer classic biltong. Traditional biltong should taste first of beef, then spice, with vinegar bringing balance rather than sharpness.
Texture matters too. Proper biltong is dried, not cooked. It should slice cleanly and eat with a natural chew. Some people love it wet in the middle. Others want it drier and firmer. Both are valid. Authenticity is more about the method and flavour profile than forcing one exact finish.
Choosing the best meat
Silverside and topside are the usual favourites because they are lean, affordable and easy to cut into long, even strips. Rump also works well if you trim it carefully. You want visible grain in the meat because biltong is usually sliced across that grain after drying, which gives you the right bite.
Fat is where it gets personal. Traditional biltong often includes some fat, and done well it adds brilliant flavour. The trade-off is shelf life. In Australia's warmer conditions, fattier biltong can turn quicker if it is stored poorly. If you are making your first batch at home, leaner cuts are easier to manage.
Cut the beef into strips around 2 cm thick and roughly 4 to 5 cm wide. Length matters less than consistency. If one strip is much thicker than the next, they will not dry evenly, and that is where frustration starts.
Authentic biltong recipe ingredients
For 2 kg of beef, you will need:
- 2 kg silverside or topside
- 125 ml brown vinegar
- 45 g coarse salt
- 20 g cracked black pepper
- 30 g coriander seeds
- 15 g brown sugar
- 5 g bicarbonate of soda, optional
Brown vinegar is the classic choice and gives that familiar tang. Malt vinegar can work, but it shifts the flavour. White vinegar is a bit sharp for traditional biltong. Coriander seeds should be lightly toasted and coarsely crushed, not ground into dust. That texture is part of the character.
The sugar should not make the biltong sweet. It simply rounds the cure. If you prefer a more savoury finish, reduce it slightly, but do not cut the salt. Salt is doing real work here, not just seasoning.
How to make an authentic biltong recipe at home
1. Prepare the spice mix
Toast the coriander seeds in a dry pan for a minute or two until fragrant. Do not burn them. Crush them roughly with a mortar and pestle or spice grinder. Mix with the salt, cracked black pepper, brown sugar and bicarbonate of soda if using.
2. Vinegar and season the meat
Pat the beef dry. Dip each strip quickly in vinegar or splash the vinegar over the meat in a tray, turning to coat. You do not want it swimming. Then rub the spice mix all over every strip.
Arrange the meat in a non-reactive dish or container. Layer it neatly and pour over any leftover vinegar and spices. Cover and refrigerate for 12 hours, then turn the pieces and leave for another 12 hours. A full 24 hours is usually the sweet spot. Less than that and the cure can feel shallow. Much longer and the vinegar can dominate.
3. Get the meat ready to dry
Remove the strips and pat off excess surface moisture with paper towel. You want the spice on the meat, but not puddles of liquid. If the strips are dripping, drying will take too long and the risk of spoilage rises.
At this point, hook the meat through one end with butcher's hooks or thread. Keep enough space between pieces so air can move freely around each strip.
4. Dry it properly
Traditionally, biltong is air-dried. At home in Australia, that means controlled airflow matters more than romance. A dedicated biltong box with a small fan is ideal. If you do not have one, a very clean, well-ventilated drying cabinet can work. What you need is moving air, moderate temperature and low humidity.
Aim for around 20 to 25 degrees with steady airflow. Direct heat is not the goal. You are drying, not baking. Depending on thickness and weather, the meat may be ready in 3 to 7 days.
Squeeze the thickest part gently after day 3. If it still feels very soft, keep going. If the outside is firm and the centre has a little give, you are in good territory for medium biltong. Leave it longer for a drier finish.
Common mistakes that ruin biltong
Too much moisture is the big one. If your drying space is humid or still, biltong can spoil before it cures properly. That is why winter batches often behave better than summer ones, especially in coastal parts of Australia.
The second mistake is overcomplicating the seasoning. Real biltong does not need a pantry full of extras. Coriander, salt, pepper and vinegar carry the flavour beautifully when the beef is good.
The third is slicing too soon. Freshly dried biltong benefits from a short rest before cutting. A few hours in a cool space helps the moisture settle more evenly through the strip.
Storage and slicing
Slice biltong according to how you like to eat it. Thin slices give you a quicker chew and more spice in each bite. Thicker slices feel meatier and show off the texture better. Always cut across the grain unless you deliberately want a tougher chew.
Store it in a paper bag or breathable container first if it still has a bit of internal moisture. Plastic can trap condensation and make the surface sweat. Once it has dried a bit more evenly, an airtight container in the fridge is fine. If you have made a large batch, freezing portions works well and does not wreck the flavour.
Why homemade biltong can be brilliant - and tricky
Making biltong at home is deeply satisfying. You control the cut, the spice level and the final dryness. For South Africans living here, it can also be a proper taste of home. For Australian snack lovers, it is a chance to understand why biltong has such a loyal following.
But there is a reason handcrafted biltong made by specialists still earns its place. Drying meat safely and consistently takes experience. Weather shifts. Humidity changes. Fat behaves differently from batch to batch. What looks simple on paper gets nuanced in practice.
That is where tradition matters. The best biltong is not only about following a recipe. It is about recognising when the coriander is toasted enough, when the cure has gone deep enough, and when the strip is ready to come out of the dryer. That judgment is what separates decent homemade beef from truly premium biltong.
If you are making your own, keep the method clean and classic. Trust the beef. Trust the spice. Give it time. And if your first batch is a little too wet, too dry or too peppery, that is still part of the journey. Proper biltong is learnt by hand, one batch at a time, and that is half the charm.